Thursday 12 February 2015

Zoeva Pink Elements Set


Couldn't resist. 

I feel obliged to own every Zoeva set released. 

They are all beautiful, fantastic quality, and excellent value for money. 

I. Need. Them. All. 

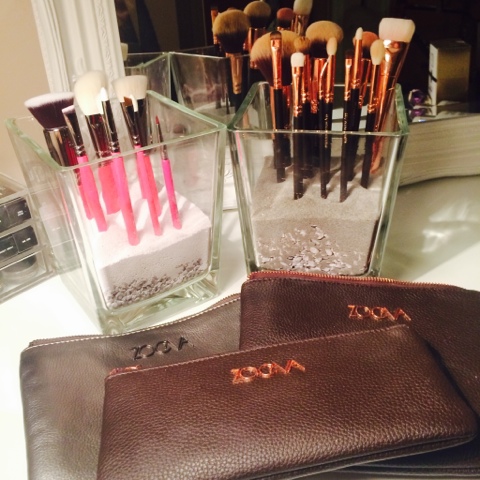
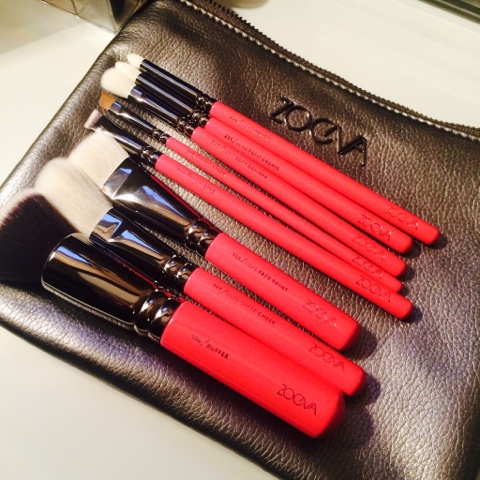
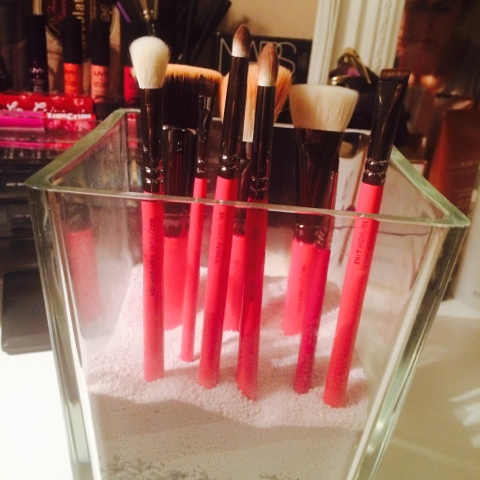
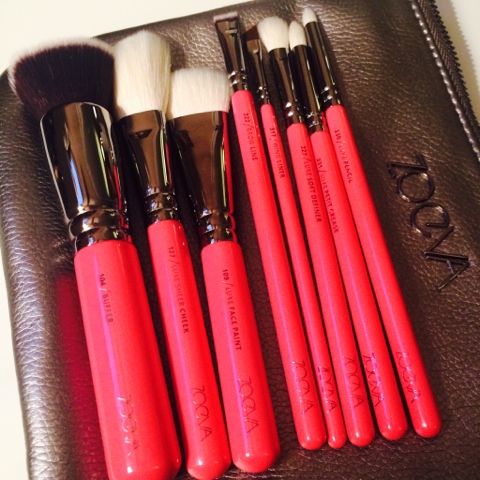
Zoeva Pink Elements. Beautybay. £55


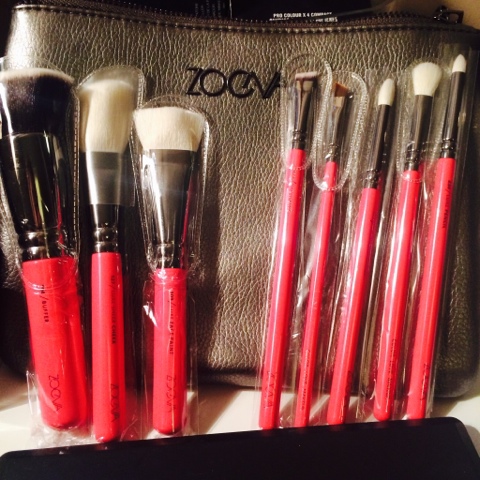
There were quite a few brushes in this collection that I already owned the rose gold or traditional blue-black versions of. But this set, like them all, is worth every penny. 

(Sorry most had been used before I took individual photos, so aren't clean)
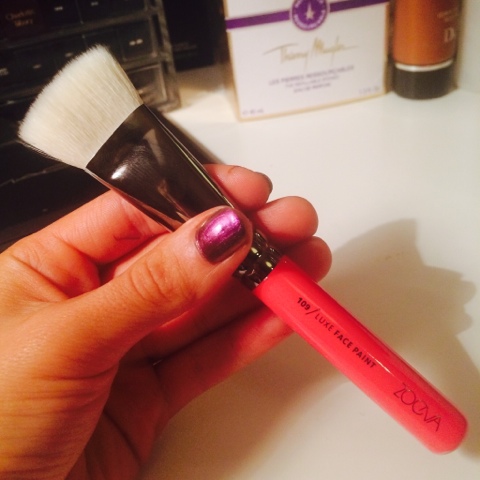
104 Buffer Brush


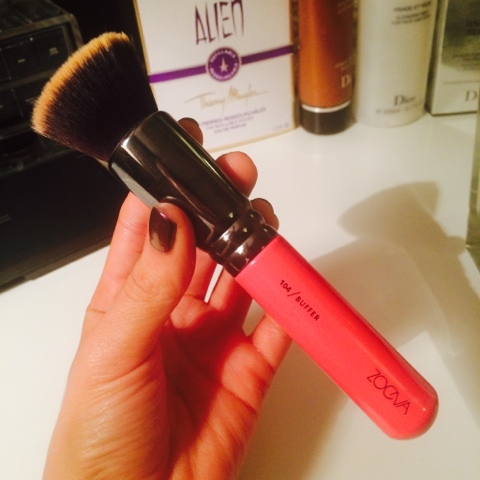
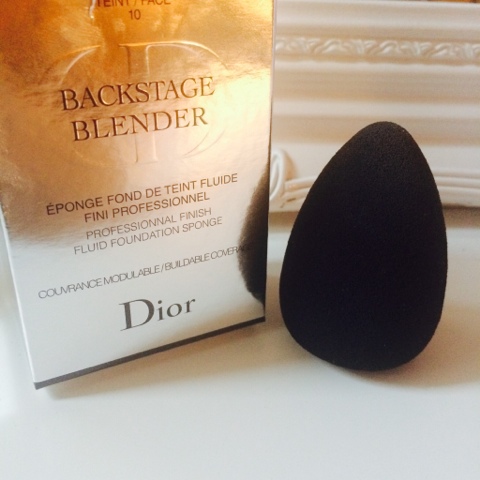
I do love a buffer brush, or any foundation brush with a 3D head. This is wonderful for finishing off foundation, and also great for using mineral powder form bases. I've been using this to buff and blend my Dior BB cream and I'm loving it. This is the only brush from the set I didn't already have and it's really what tempted me! It's bristles are do dense yet so soft!

127 Luxe Sheer Cheek Brush


A beautifully soft, angled blusher brush. The angle cut of the bristles gives a really defined blush application. It's also perfect for applying highlighting powders in my opinion. 

109 Luxe Face Brush


This is a brush I've already blogged about when I bought the blue version. I adore it. I use this to blend and soften a contour line. I use my bold metals real technique flat contour brush to apply a contour, but it leaves a very bold line, and this just really blends it out beautifully and makes it a little more subtle. 

227 Luxe Soft Definer Brush 


I had two rose gold ones of this, as it came in the classic rose gold set and the eye set. It's probably the eye brush I use the least as I prefer the more oval, domed brushes. 

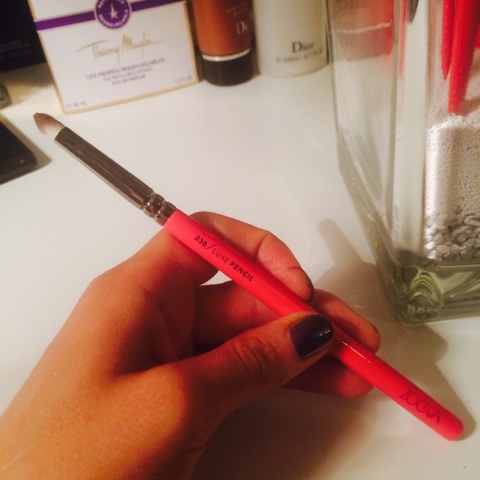
230 Luxe Pencil Brush


My absolute favourite Zoeva eye brush. This shape is one I've not really seen in other brands. It's so petite, and so defined in it's application. I use this to apply my crease colour, and it is just perfect. I also use the tip point to apply colour under the bottom lash line. 

231 Luxe Petite Crease


Again, that lovely oval dome of bristles. Slightly less dense than the pencil brush. Love this more for applying base colour to my lids than as a crease brush. Also use the point to add a highlight shade to tear ducts and brow bone. 

317 Wing Liner Brush 


Adore. This brush is responsible for my love of gel liner. I have never liked gel liners, on account of the standard pointed brushes they come with. But since getting this and the rose gold fine liner brush, I now can't see past Mac fluidline pots and am building up a dangerous hoard of them. 

322 Brow line brush. 


Holy grail. Get this. The angled bristles are soft but dense and this makes eyebrow shaping SO much easier. 

And that's all of them. Little beauties. 


Kirstie 

Xxxx

Wednesday 11 February 2015

Dior Backstage Blender Review


This has been one of the most talked about makeup tools of the year so far. 

Dior Backstage Blender. £12. 

I wanted this immediately. It's been all over my Instagram feed and I was super excited to get hold of one. It's black, it's a beauty blender, and it's Dior. What's not to like? 

So the other day, I purchased this in Debenhams using my beauty card points, meaning it was also free! 

I love Beauty Blenders. The original beauty blender is easily one of my best beauty buys ever. 

Before the Beauty Blender, I'd used the Real Techniques version, at £6 it's a bargain but I didn't like it, and felt it was a big dissapointment. But the actual branded Beauty Blender, at £16 is priceless. I use it daily.  I find applying my base with brushes works best for me and then the Beauty Blender just refreshes everything, blends in for an airbrush finish and removes any 'cakey' affect of my makeup. It stops my concealer pooling around my eyes, it takes makeup out of flaky patches, it cleans up any smudging of eye makeup, it removes oily residue from foundation, all in all it just does everything to finish off my look.

So to find a Dior version was very exciting. 

Unfortunately, the excitement was short lived. 

I've tried this several times now, just to be sure before I reviewed it. 

It's just not the same. When you dampen a Beauty Blender, it expands as the pores take in the moisture. This means that it doesn't absorb the liquid foundation. 

Dampening the Dior blender doesn't do anything. It stays the same size. 


The Dior blender is much firmer. It's quite solid for a sponge. 

Applying makeup is another dissapointment. The Beauty Blender almost 'bounces' as you use it. It's very soft and flexible, wheras the Dior is quite hard and doesn't really change in shape. It doesn't blend well at all, and gives nowhere near the same finish. 

To be honest, I don't think it should be called a 'blender'. It's more of a standard makeup sponge, which I don't actually like using as they seem a bit redundant and tend to just smear product around. 

I guess one resounding factor is that the Dior blender is so firm that it's very durable. The Beauty Blender has to be cleaned very carefully to avoid tearing and the Real Techniques copy just seemed to fall apart straight away. 

I'm not a fan of the Dior blender. I feel like my expectations of a Dior product would be that it worked much better than another version? But it doesn't stand up to the original whatsoever. I don't like it  but would love to hear if anyone else has found it to be a less dissapointing product. 

Kirstie 

Xxxxx


Tuesday 10 February 2015

Depotting mac eyeshadows.

I did a much more detailed post on this last year. 

But just a quick reminder post of the easiest way I've found for depotting single Mac eyeshadows into a pro palette. 

You need the following items. 


Hair straighteners. 
Nail scissors. 
Tweezers. 
Foil.
The shadow. 
The palette. 

First, you slip the plastic pan out from the plastic casing. I found this remarkably more difficult today than usual. That little baby did not want to budge. Please be really careful, because it's sometimes a bit of a fiddly job and there are scissors involved. Most of the time it comes away quite easily. 

You stick the pointed end of the scissors into the line where the pan and casing are seperate, and prise the pan out. 


You then lay foil across the iron of the straighteners, and (with tweezers, To avoid a burn) you place the pan on the foil. 


Leave the pan on the heat for around 2/3 minutes. This melts the glue holding the metal pan to the plastic. 

When you smell the glue melting, remove the pan, and gently poke the pointed end of the scissors into the back of the pan just slightly. 


This should push the metal pan out. Please be carefull with this part of the process too. The glue is very hot, and I got a little burn on my finger from being clumsy. 

Place the pan down to cool. 

I took the time to remove the shade sticker from the back of the casing. 

You can then stick a small magnet to the back of the pan, to easily add it to your palette. 


Taaadaaaa

HoneyLust has found a home! 

Kirstie. 

Xxxx

 
Skint Again Beauty Blog Design by Ipietoon